Want more power in your swing? Then you need to improve your range of motion.
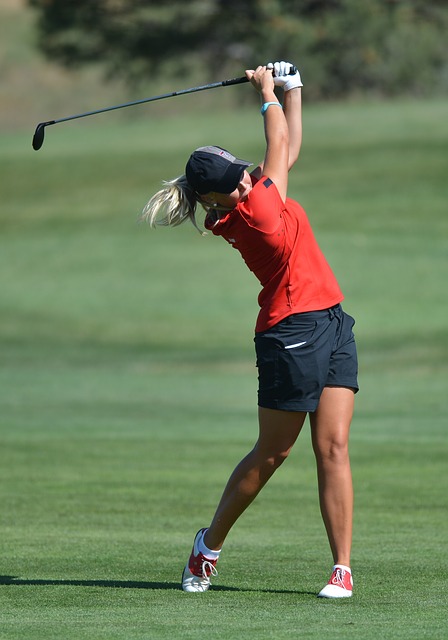
Range of motion equals power.
Think about it for a minute. Bruce Lee’s one-inch punch notwithstanding, if your hand is only an inch away from a punching bag, how hard can you actually hit it? Using a larger range of motion, or starting with your hand pulled back to give your punch some power from your shoulder, means you can hit the bag with more force.
The same can be said of your golf swing. If you want to drive the ball 200+ yards, not only do you need correct form, but you also need to count on a flexible back, hips, and shoulders to give you as much distance and power as possible. By regularly practicing yoga or consistently performing a few basic (golf-specific) stretches every day, you can vastly improve your golf game.
Note: Range of motion issues are not always muscular; they may be structural. Always check with a physician before attempting any exercises or stretching programs. Don’t force yourself into these poses. If you feel pain, always ease up the stretch or just stop.
Seated Twist
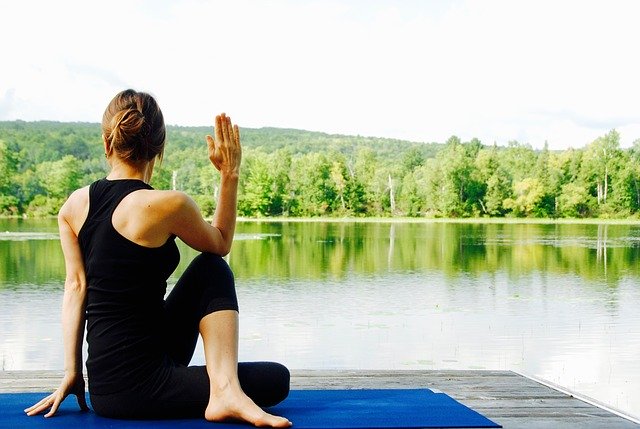
I really like “lazy” poses. For real. The easier it is to do, the easier it is to work into your everyday existence. And consistency is the key, to greater golf skill as well as better flexibility. You don’t even need a yoga mat for these poses, and can do them while watching TV. Here’s how to get into this one:
- Sit on your mat with your legs straight out in front of you.
- Make sure both of your sit bones are pressing evenly into the mat/floor.
- Bend your left knee and place your left foot flat on the floor.
- Keep your left leg as it is OR
- Place your left foot over your right leg, like the pic to the left. If one of your sit bones comes up off the floor when you do this, return your left foot to its starting point.
- Inhale your spine straight and your right arm straight up in the air.
- Twist your body to the left so your chest (not your neck) turns to the left.
- Place your right elbow to the outside of your left knee, or wrap you right arm around your raised left knee.
- Place your left arm straight behind your torso to keep it aligned.
- Breathe in and out, feeling the twist deepen as you relax.
- Hold the pose for at least 5 full breath cycles (in AND out).
- Switch sides and repeat.
Upward-Facing Dog
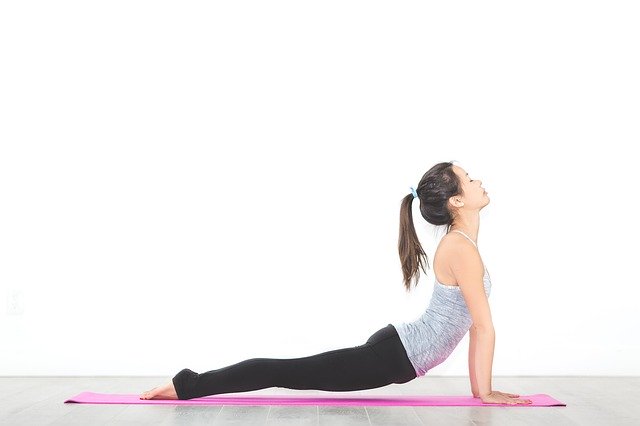
Known as “Up Dog” for short, this is an easy pose that, when combined with the other two poses in this blog, works so well to keep your spine and your back muscles limber and loose. Here’s how to get into this one:
- Start by lying on your stomach with your hands right under your shoulders.
- Press your palms into the mat/floor, spreading your fingers.
- Slowly press into your hands and pull your upper body up by straightening your arms.
- Keeping your shoulders away from your ears, open up your chest and rest your legs on the mat.
- If you want (but it’s not necessary), you can tighten your quads and lift your legs fully off the mat (as seen in the pic to the right).
- Hold the pose for at least 3 breath cycles, then slowly lower your body back down to the mat.
- Go right into the next pose to release your back muscles.
Child’s Pose
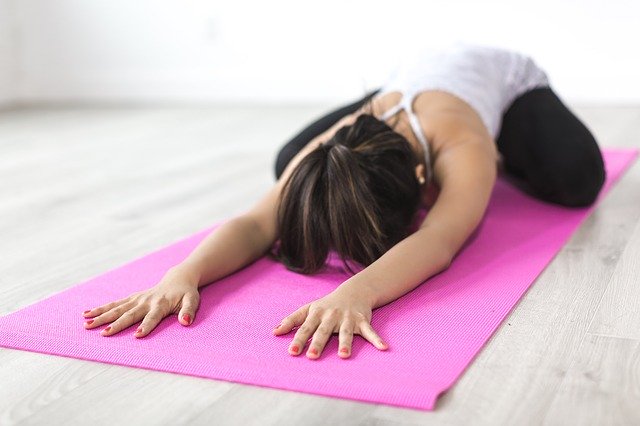
This is one of my all-time favorite poses, and you can probably tell why just by looking at it. It’s so restful! I always tell my yoga classes, if you’re ever tired, go into Child’s Pose. You can take a break there, and it’s an indicator to your yoga instructor that you’re in need of a breather. Here’s how to get into this one once you come down from Up Dog:
- Push yourself up onto your hands and knees.
- Bring your big toes together and your knees out wider than your hips.
- Sink your hips back toward, and then over, your heels (if possible).
- Stretch your arms out in front of you.
- Breathe and relax here for as long as you want.
- BONUS: You can walk your hands to the left until you feel a nice stretch in the right side of your body. Then walk your hands to the other side to stretch the opposite way.
